Connecting the domain and bucket. PART 2
Posted on March 17, 2025 • 3 min read • 599 wordsWe will be using Amazon AWS Route 53 and AWS S3 to connect the bucket we made to your domain name

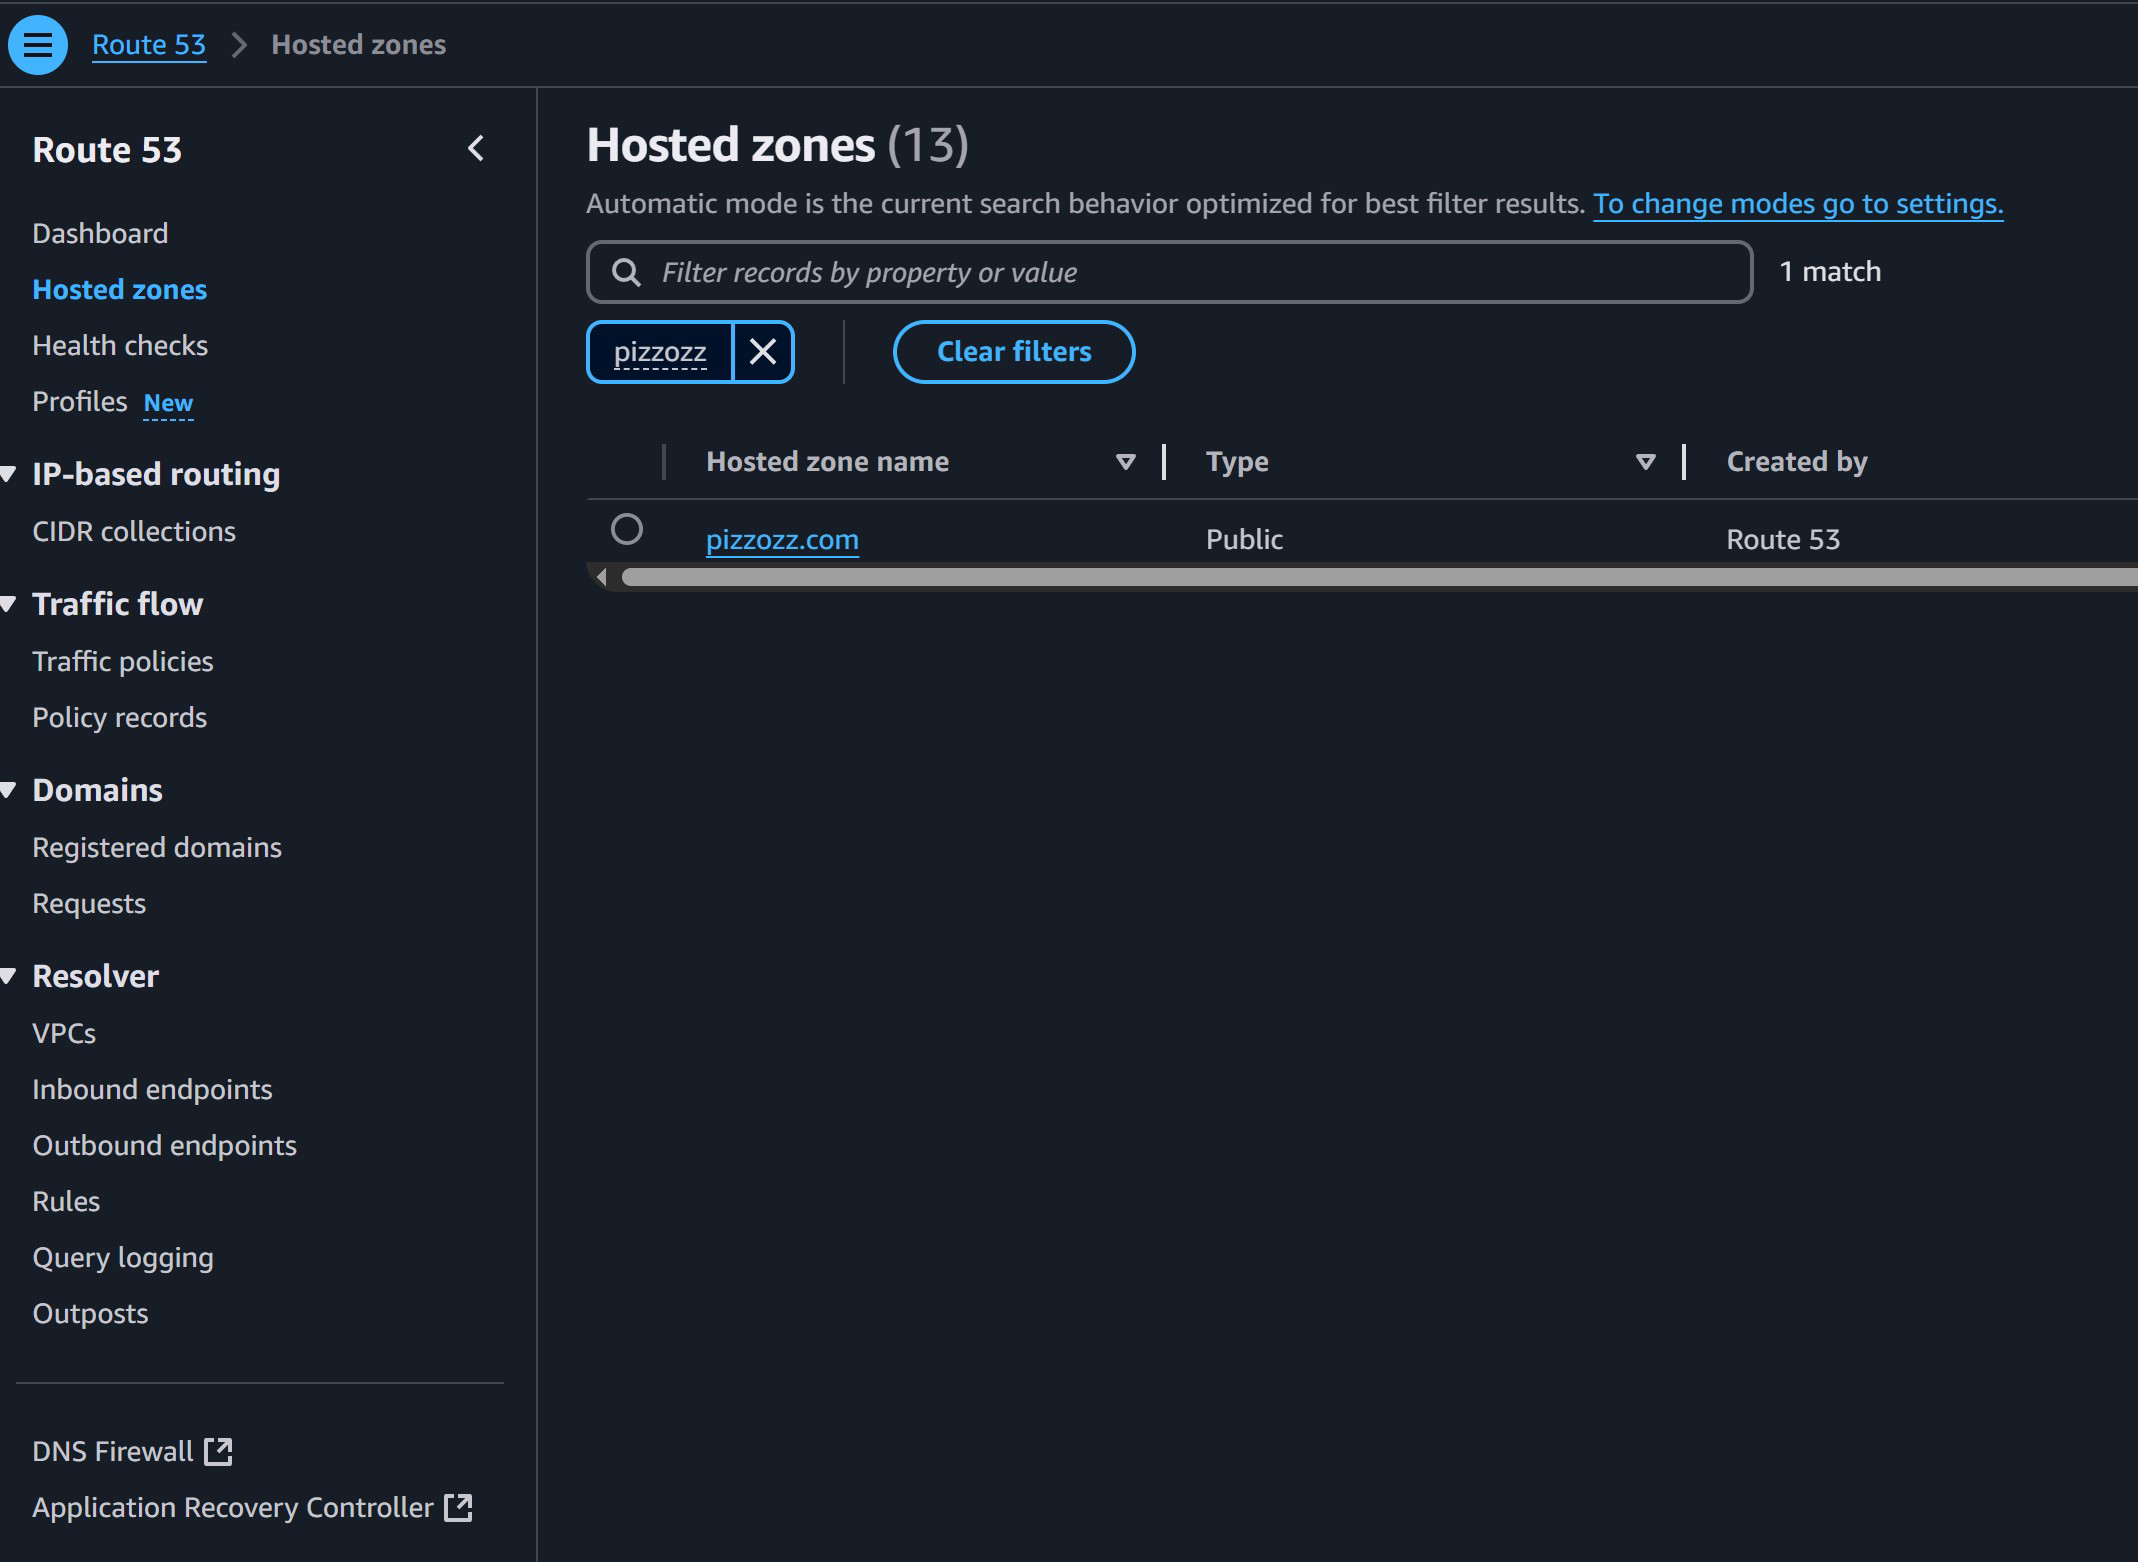
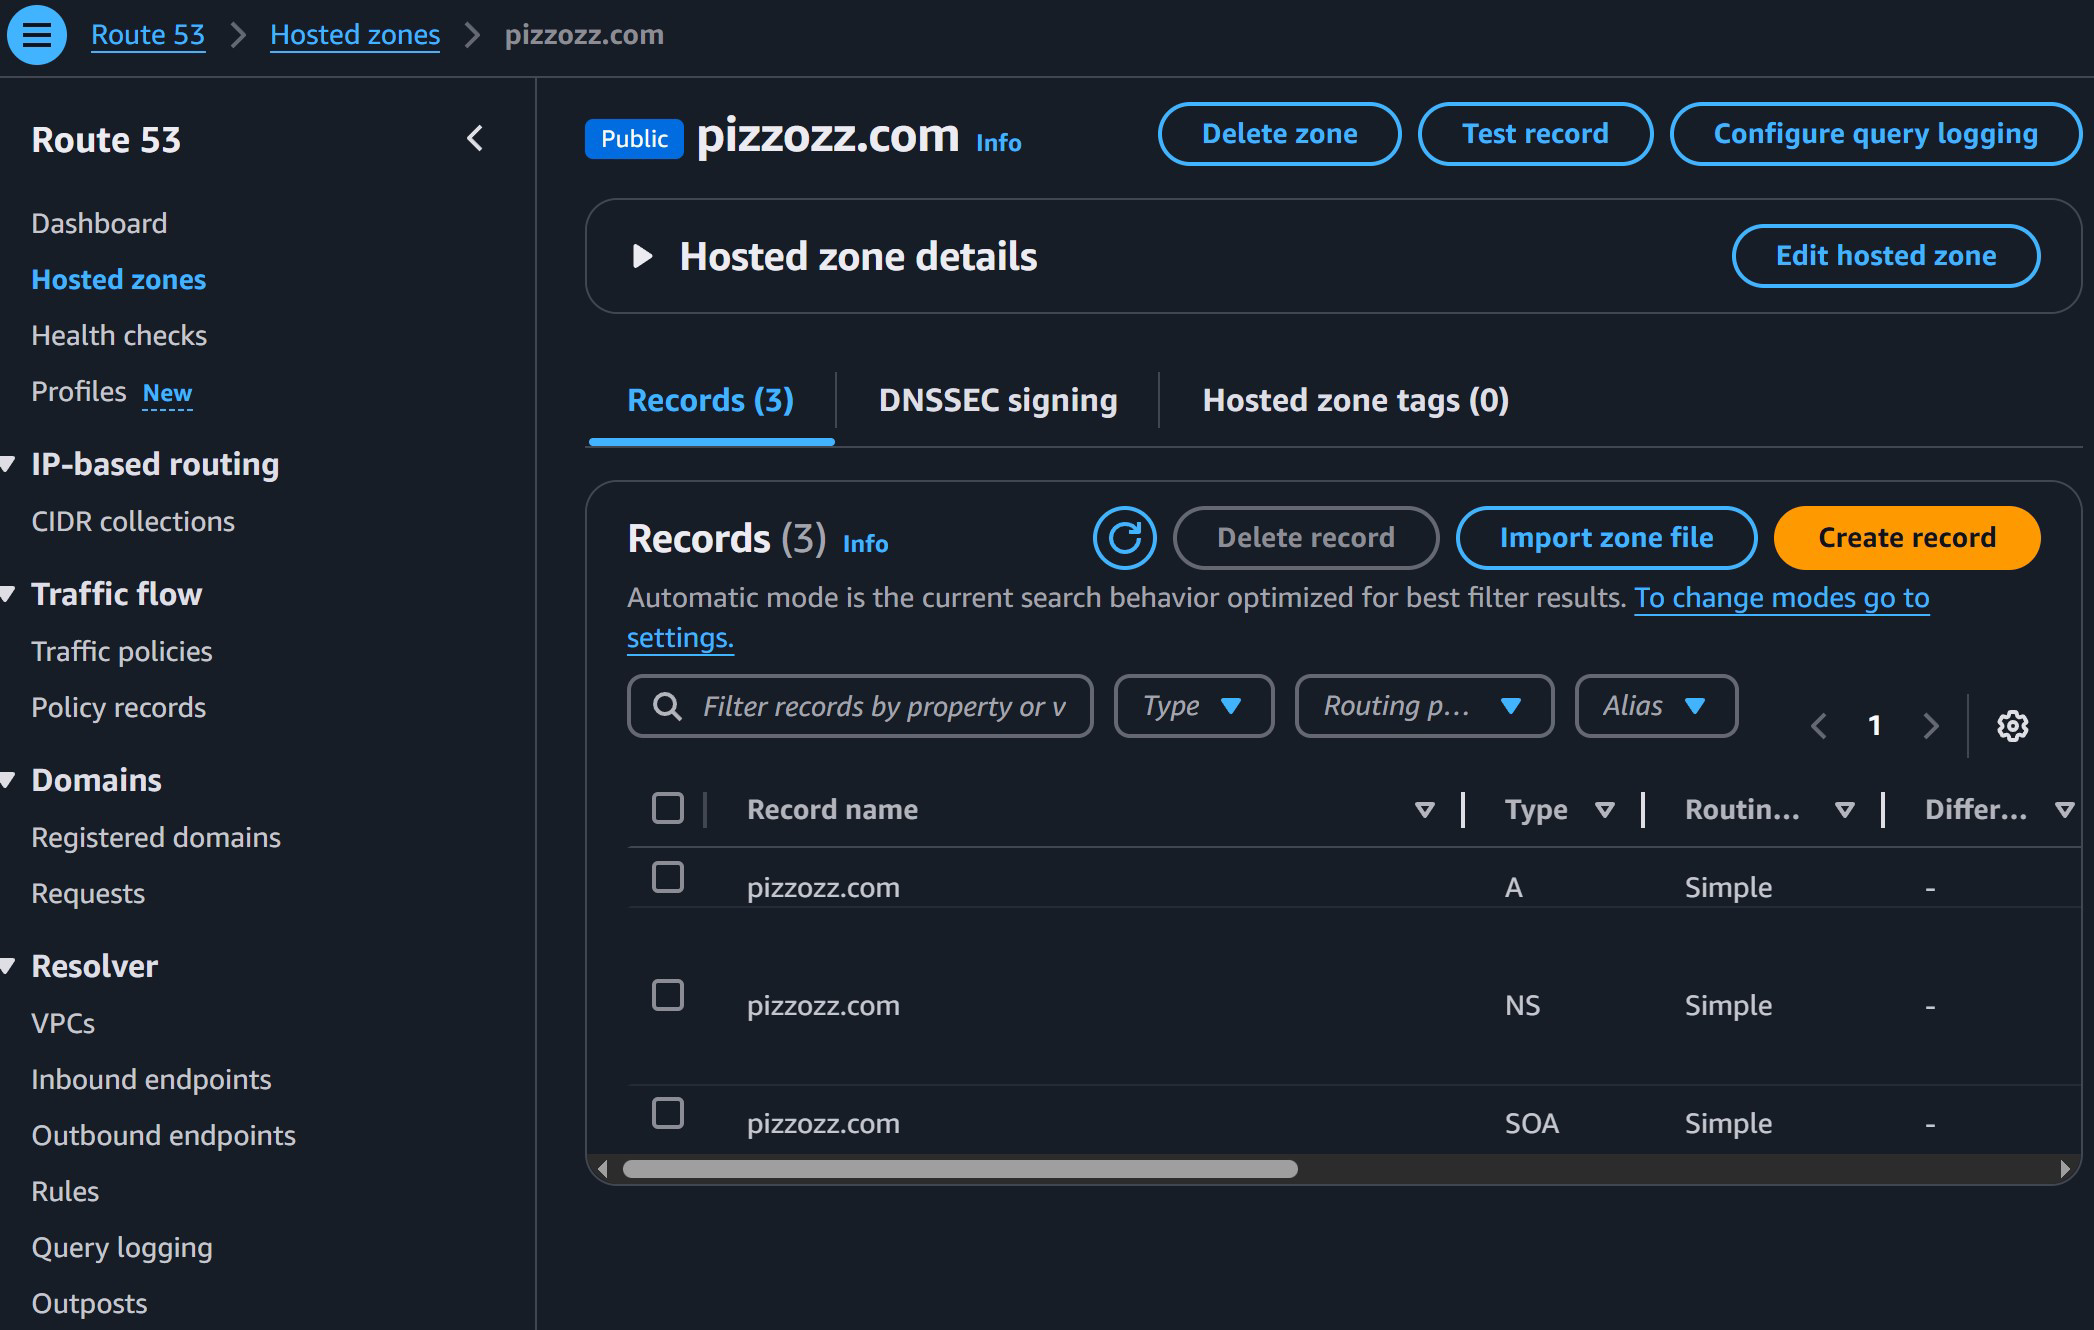
Next we want to go “Hosted Zones” where we see the website we just registered and click on the website name itself.
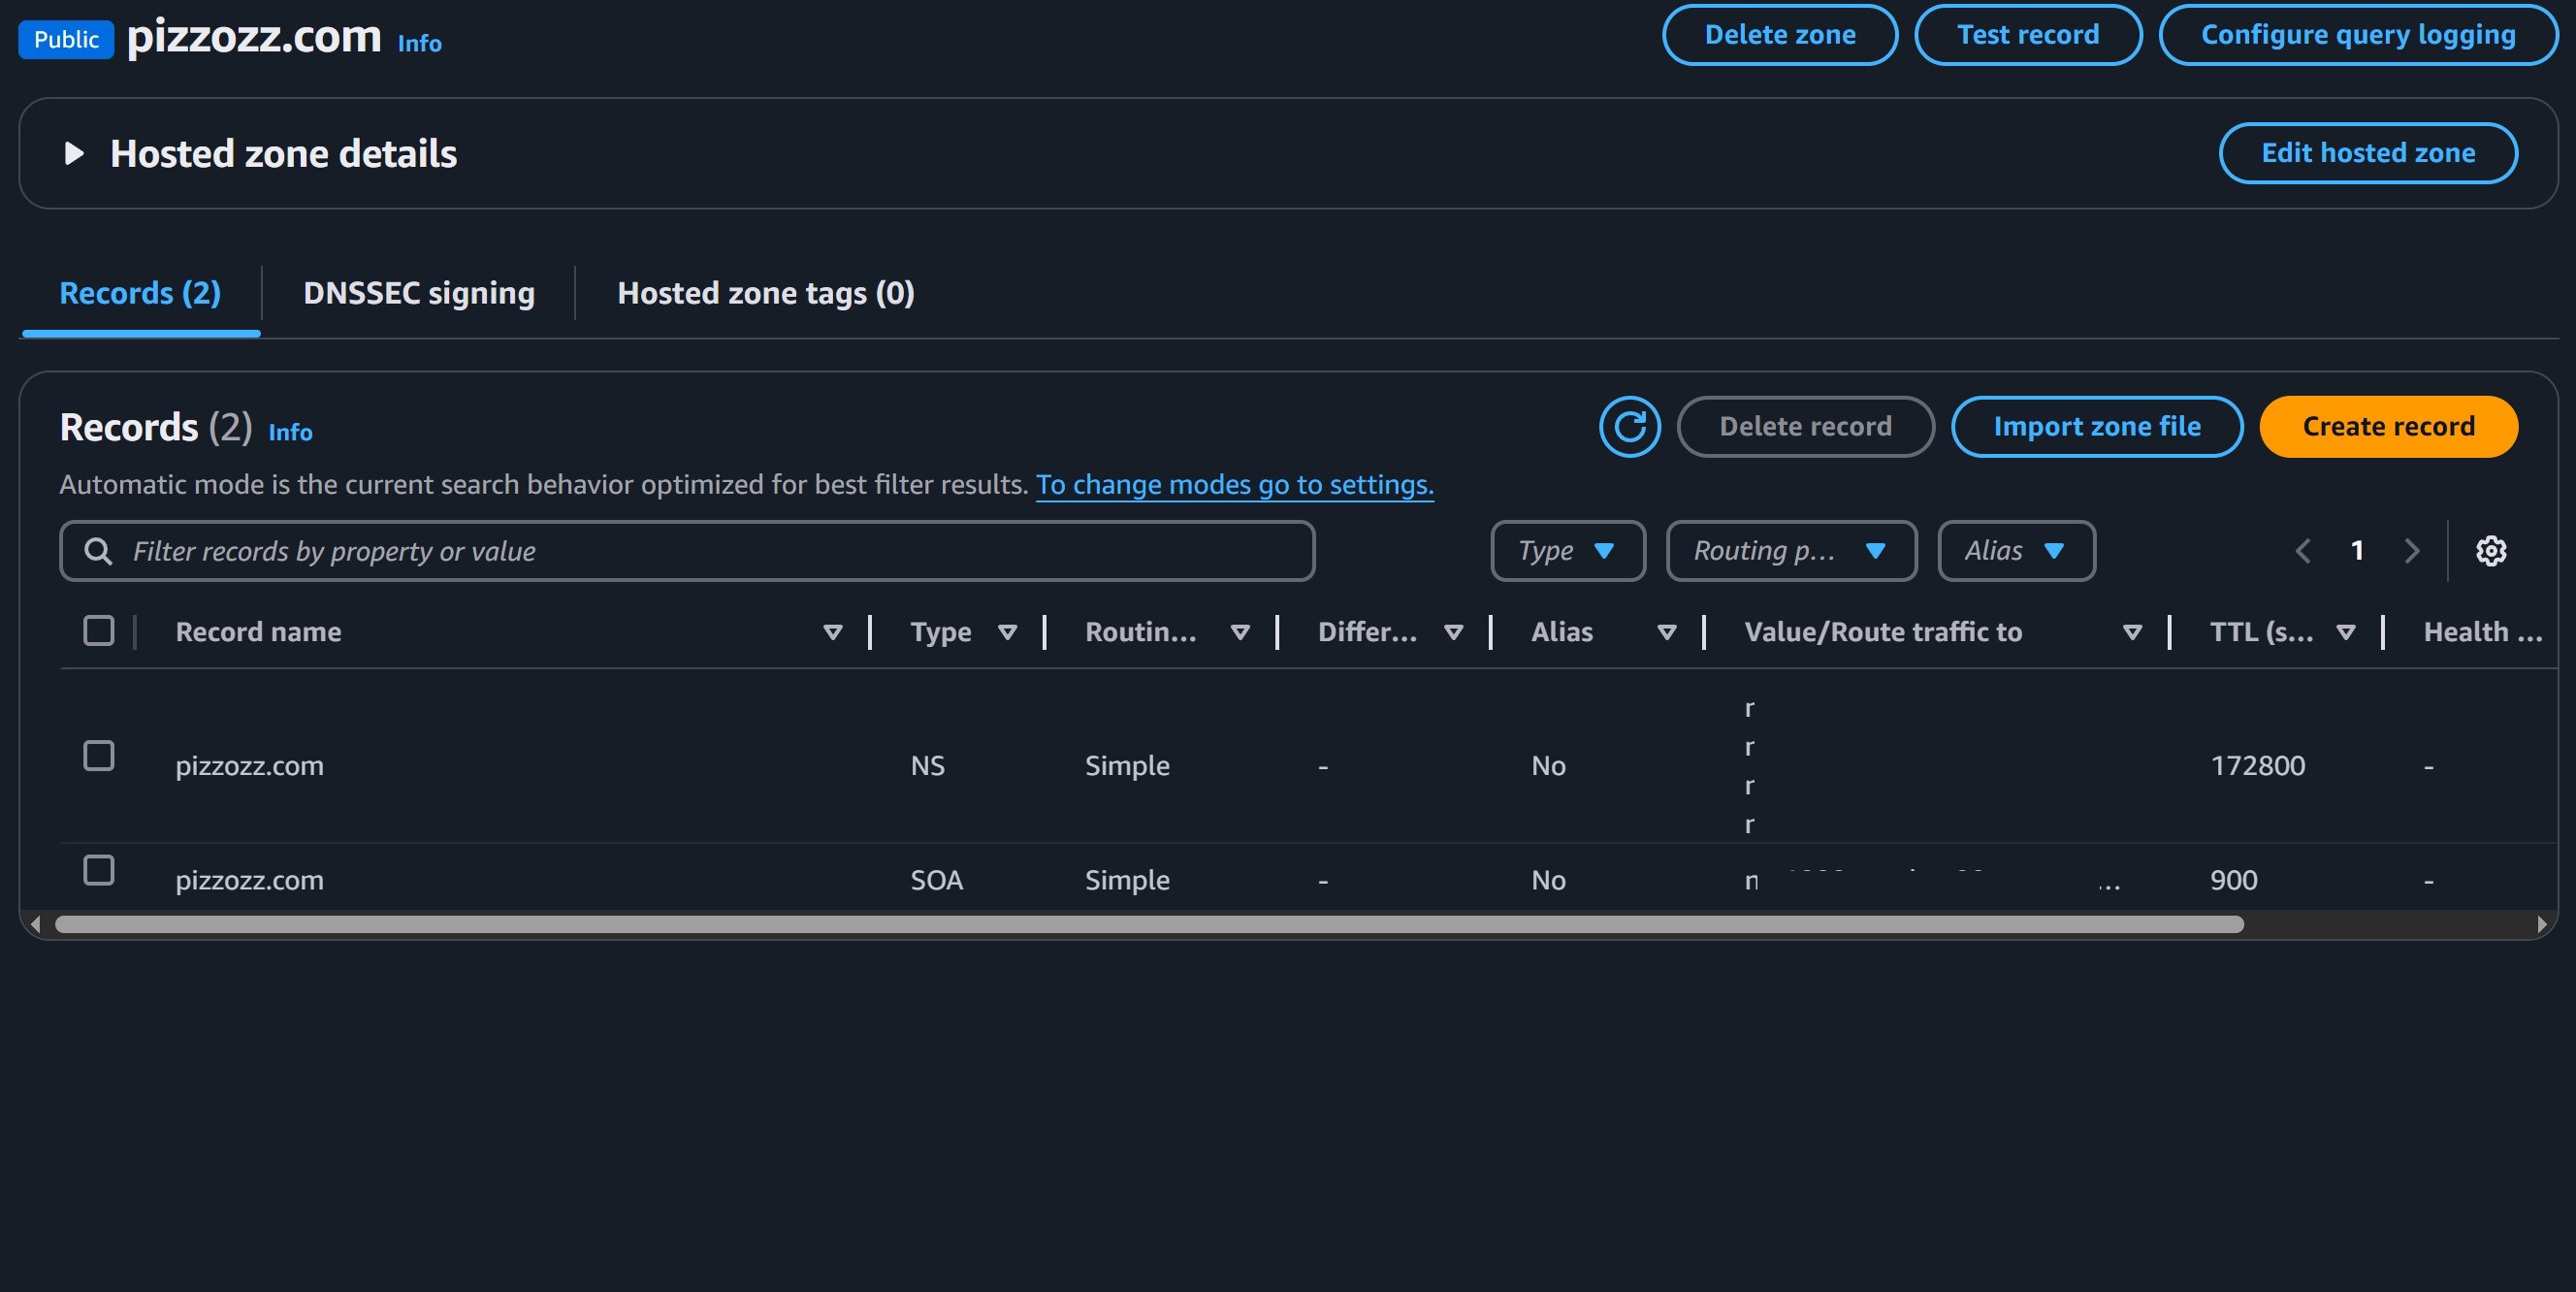
Here you’ll see a bunch of things called “Records” they’re basically related to making sure that the randomly assinged website number we talked about earlier like 12.345.678.90 is pointing to your website name, in my case www.pizzozz.com. We don’t worry about the ones that are already created.
We want to create a new Record that points the name to the bucket we created. So let’s do that, hit “Create Record”
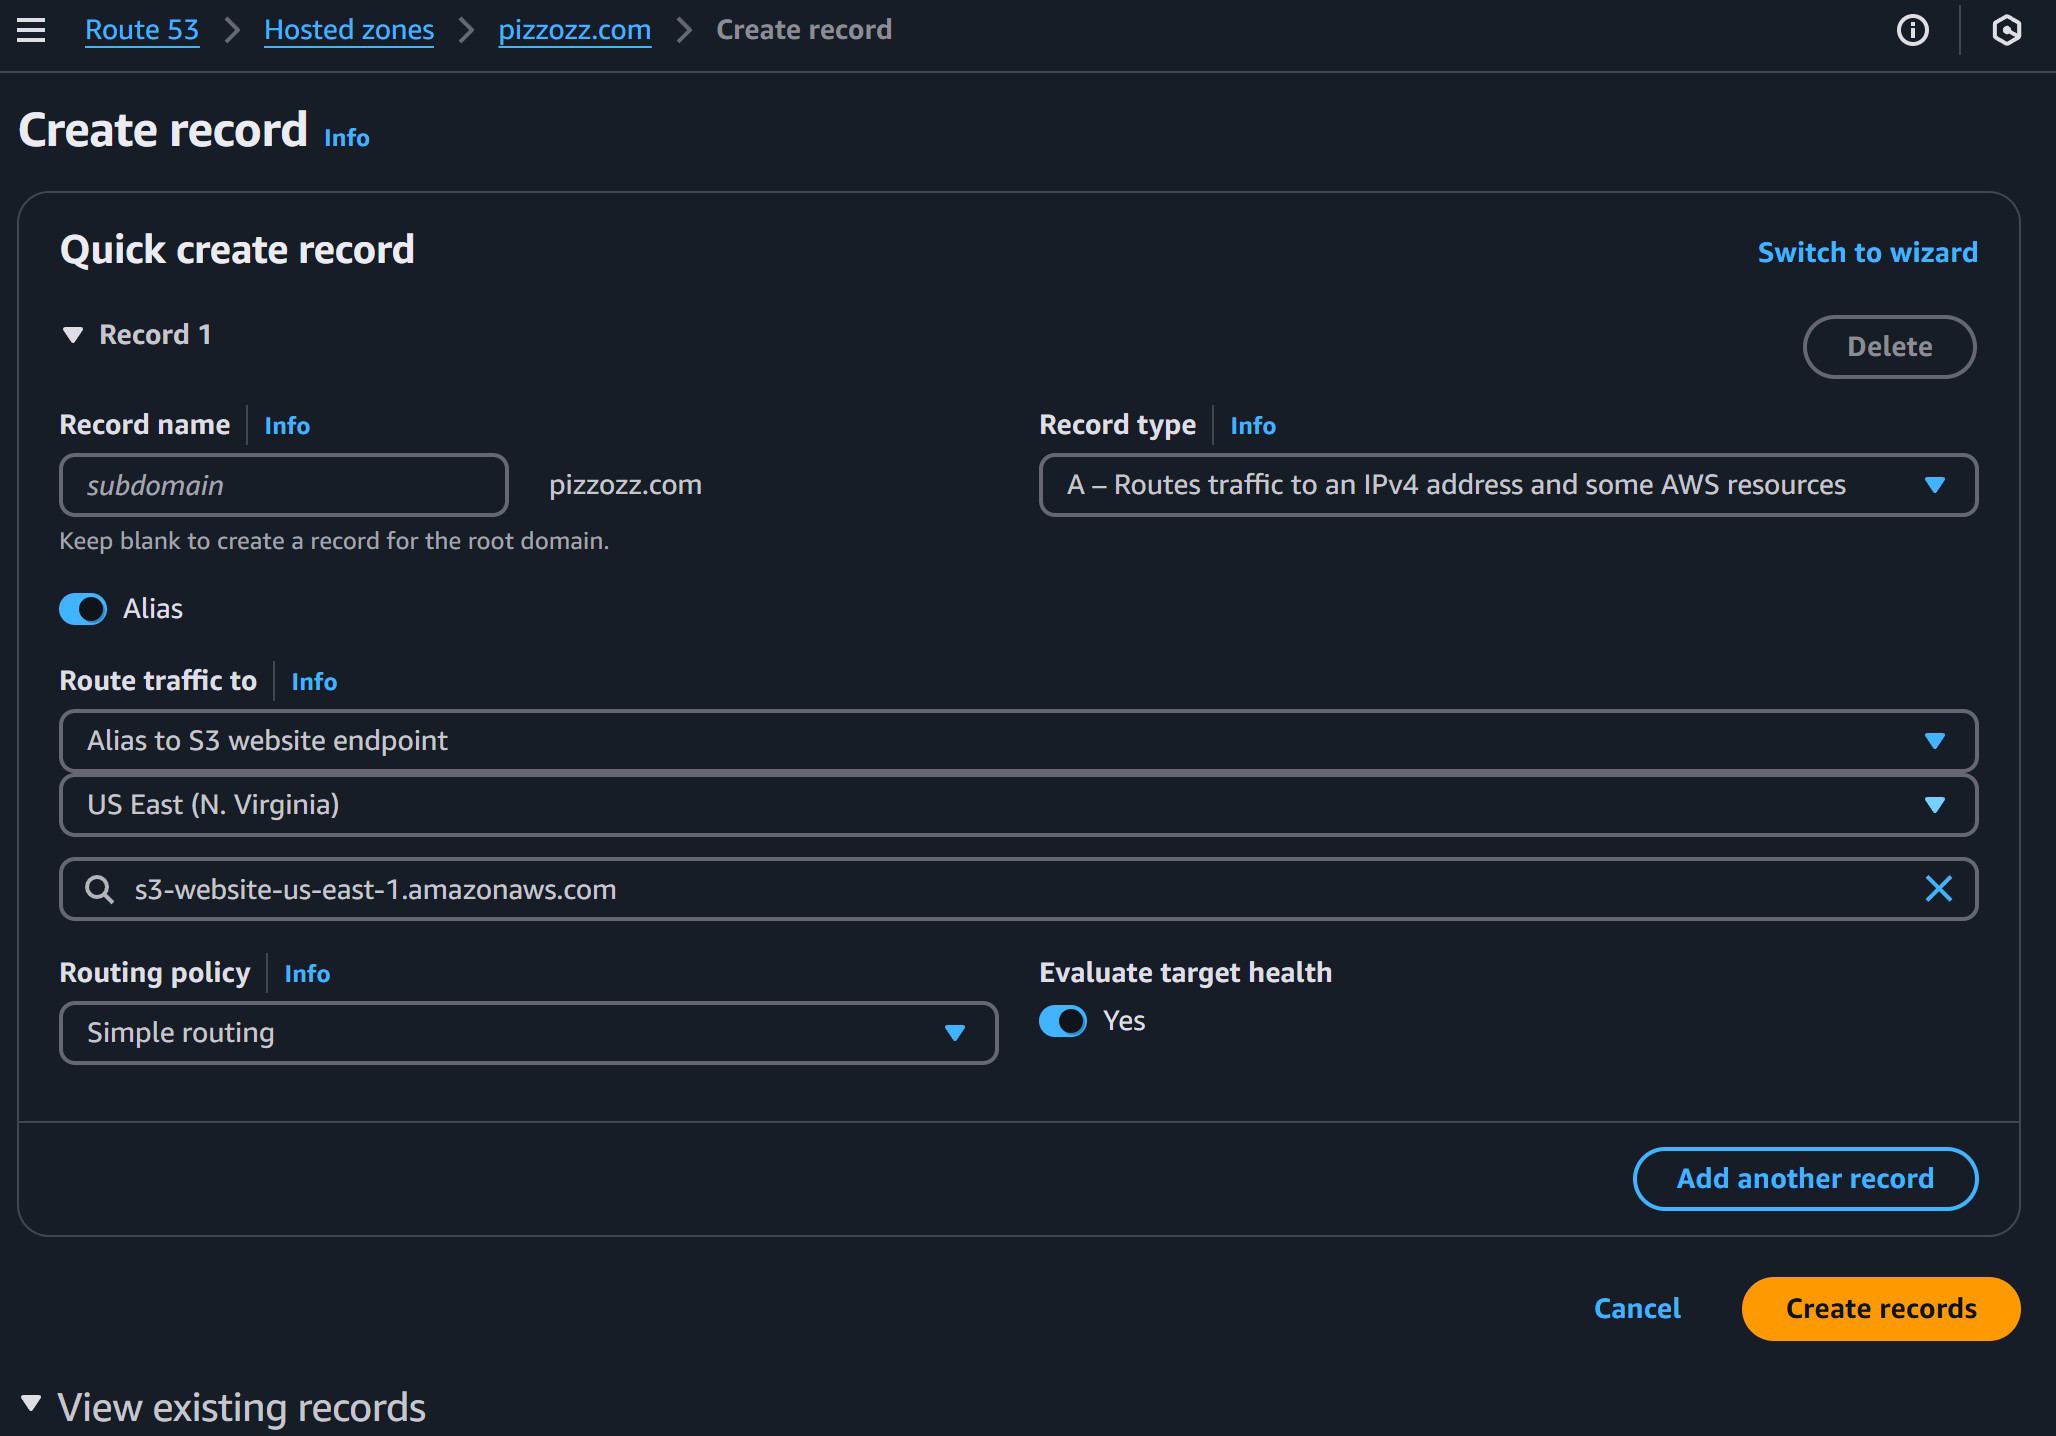
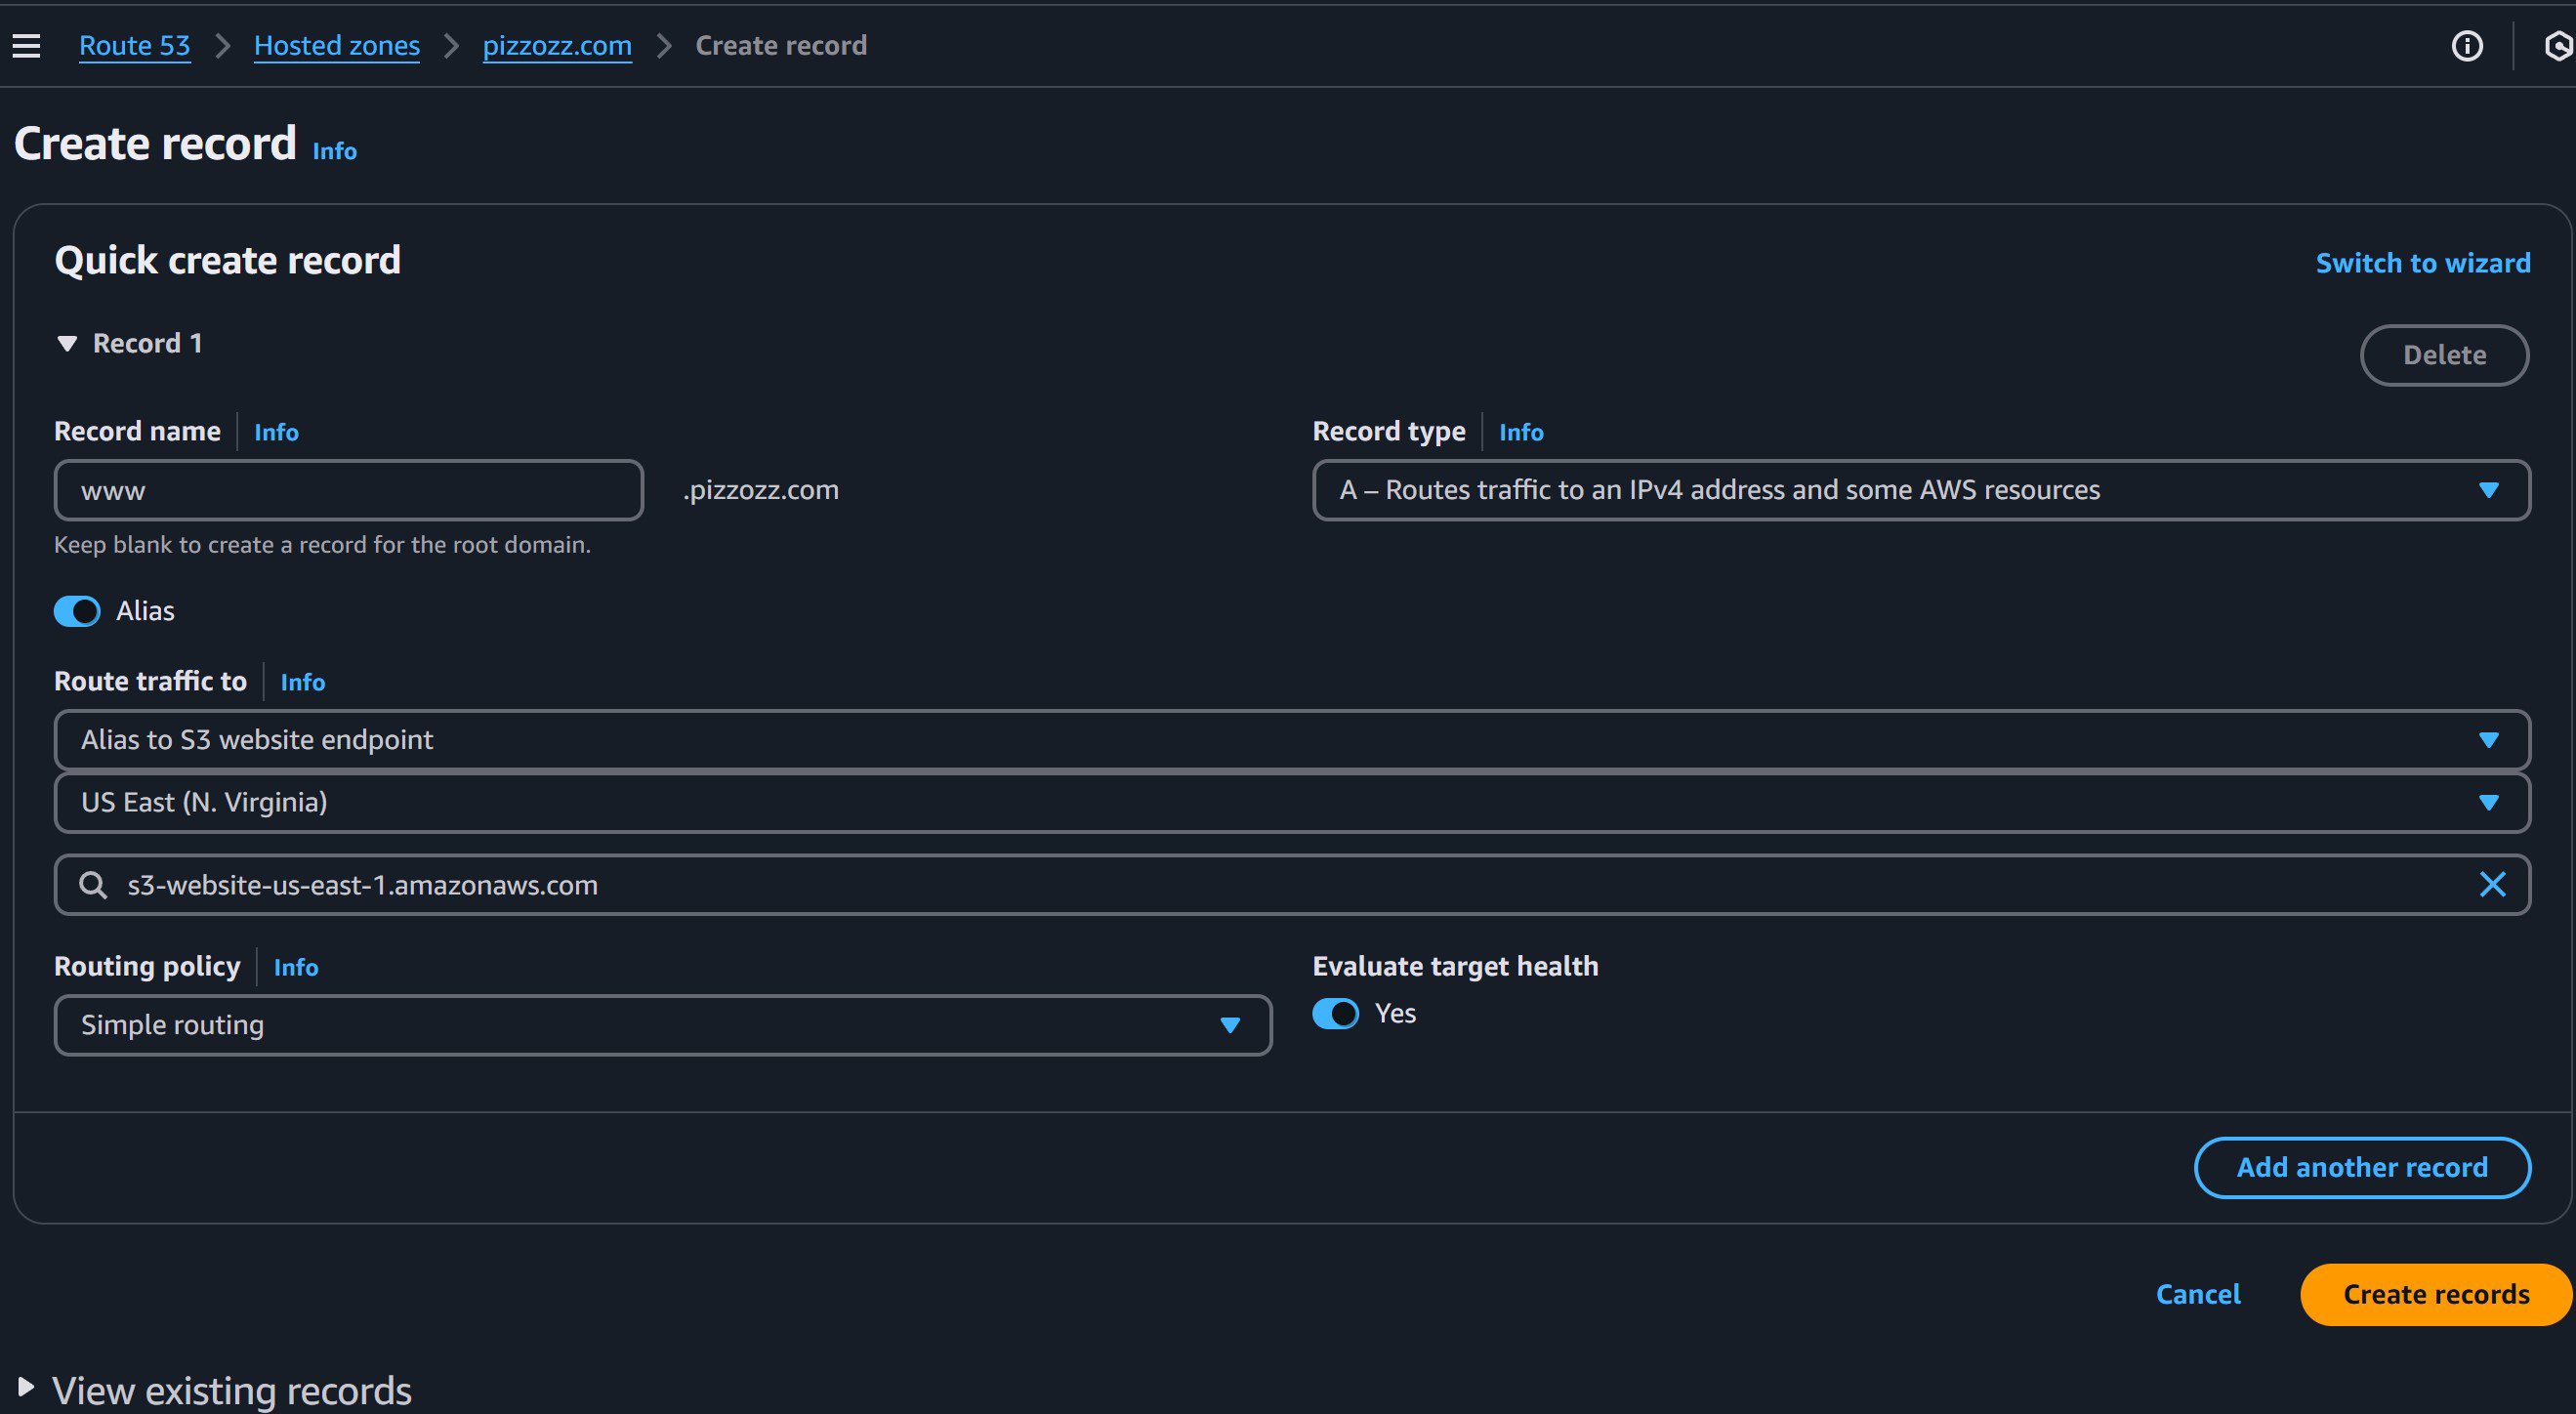
Now on this screen you want to flip that little “Alias” switch. AWS makes the domain name to bucket name pointing super easy. For the “Route traffic to” select “Alias to S3 Website…” pick the U.S (N. Virginia) option where we created our bucket. Then pick your website. That’s it! Hit “Create Records”
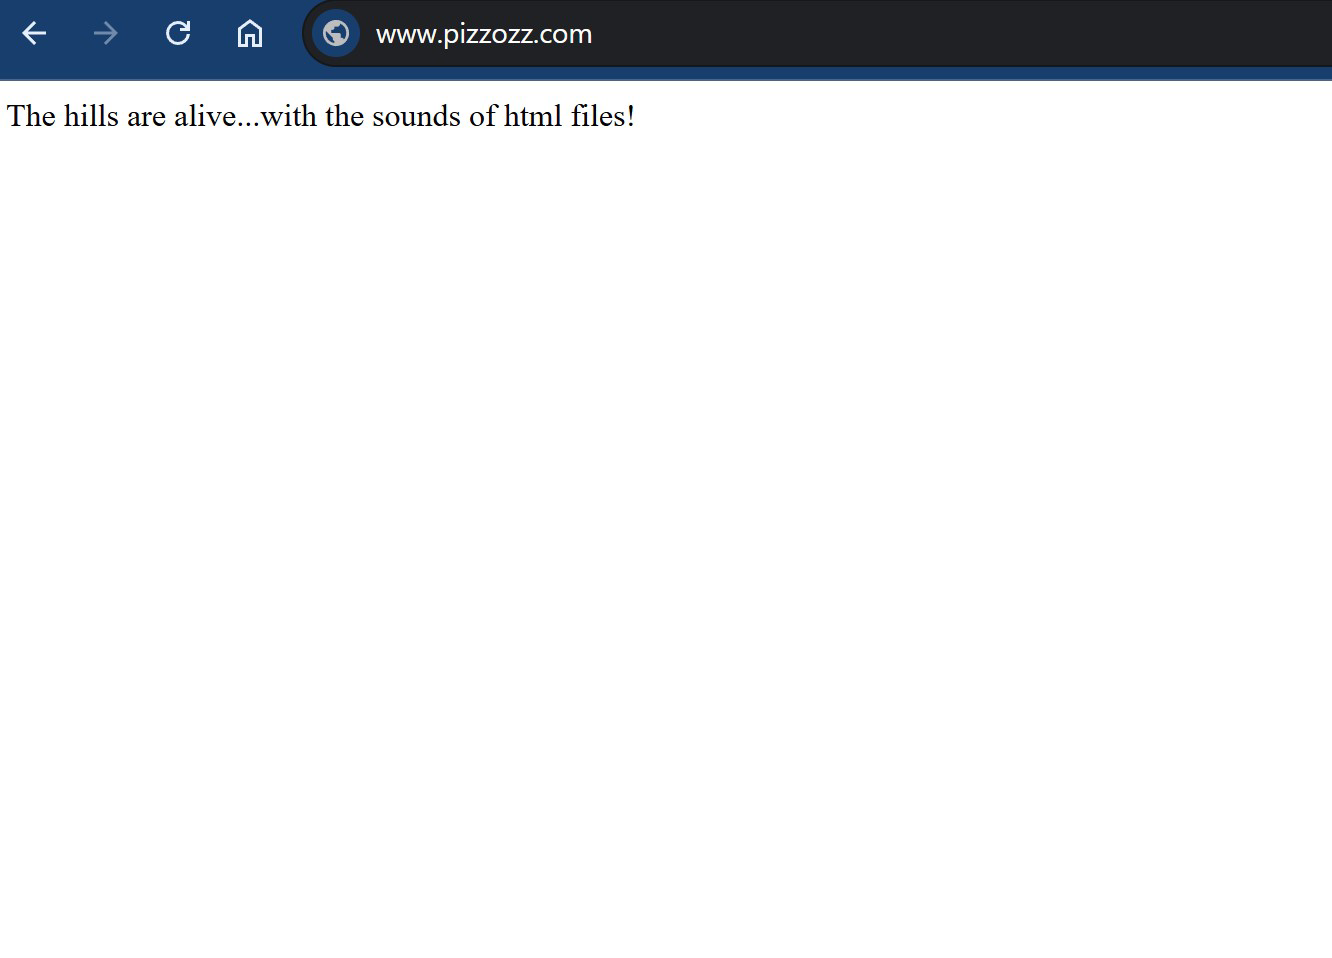
Now wait 5-15 minutes then..check this out. If you go to your website (without the www. , we’ll talk about that later) like in my case pizzozz.com:
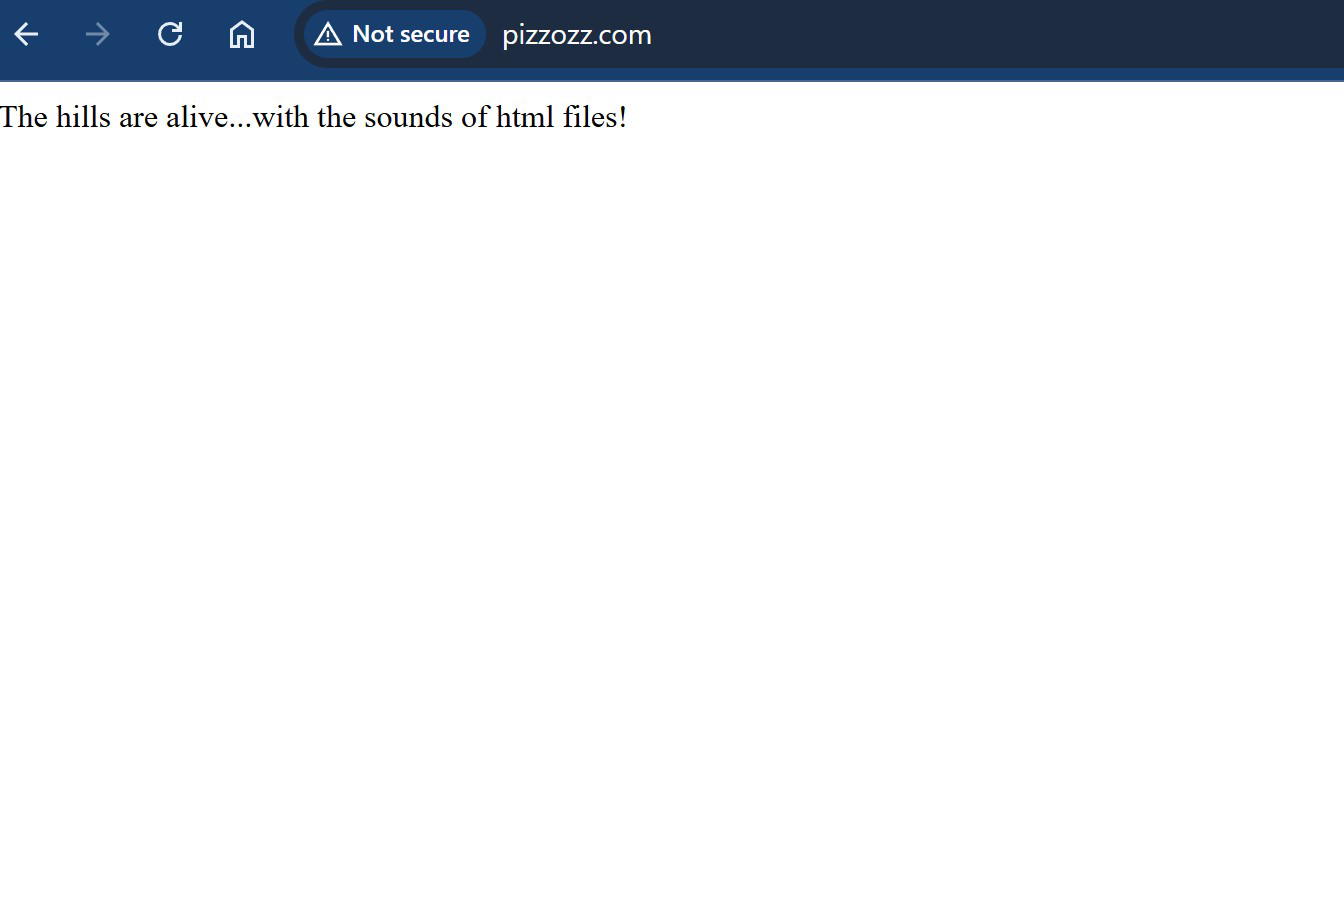
Wham-bam-bongo! You’ve got yerself a website!
We have one more thing to do. So I kept saying that we will fix the “www.” thing. Basically, the way internet website names work is very specific. www.pizzozz.com and pizzozz.com are kinda like two separate names. When someone types one or the other they will sorta point to the website name you own, but you have to make sure that both are connected to your main page.
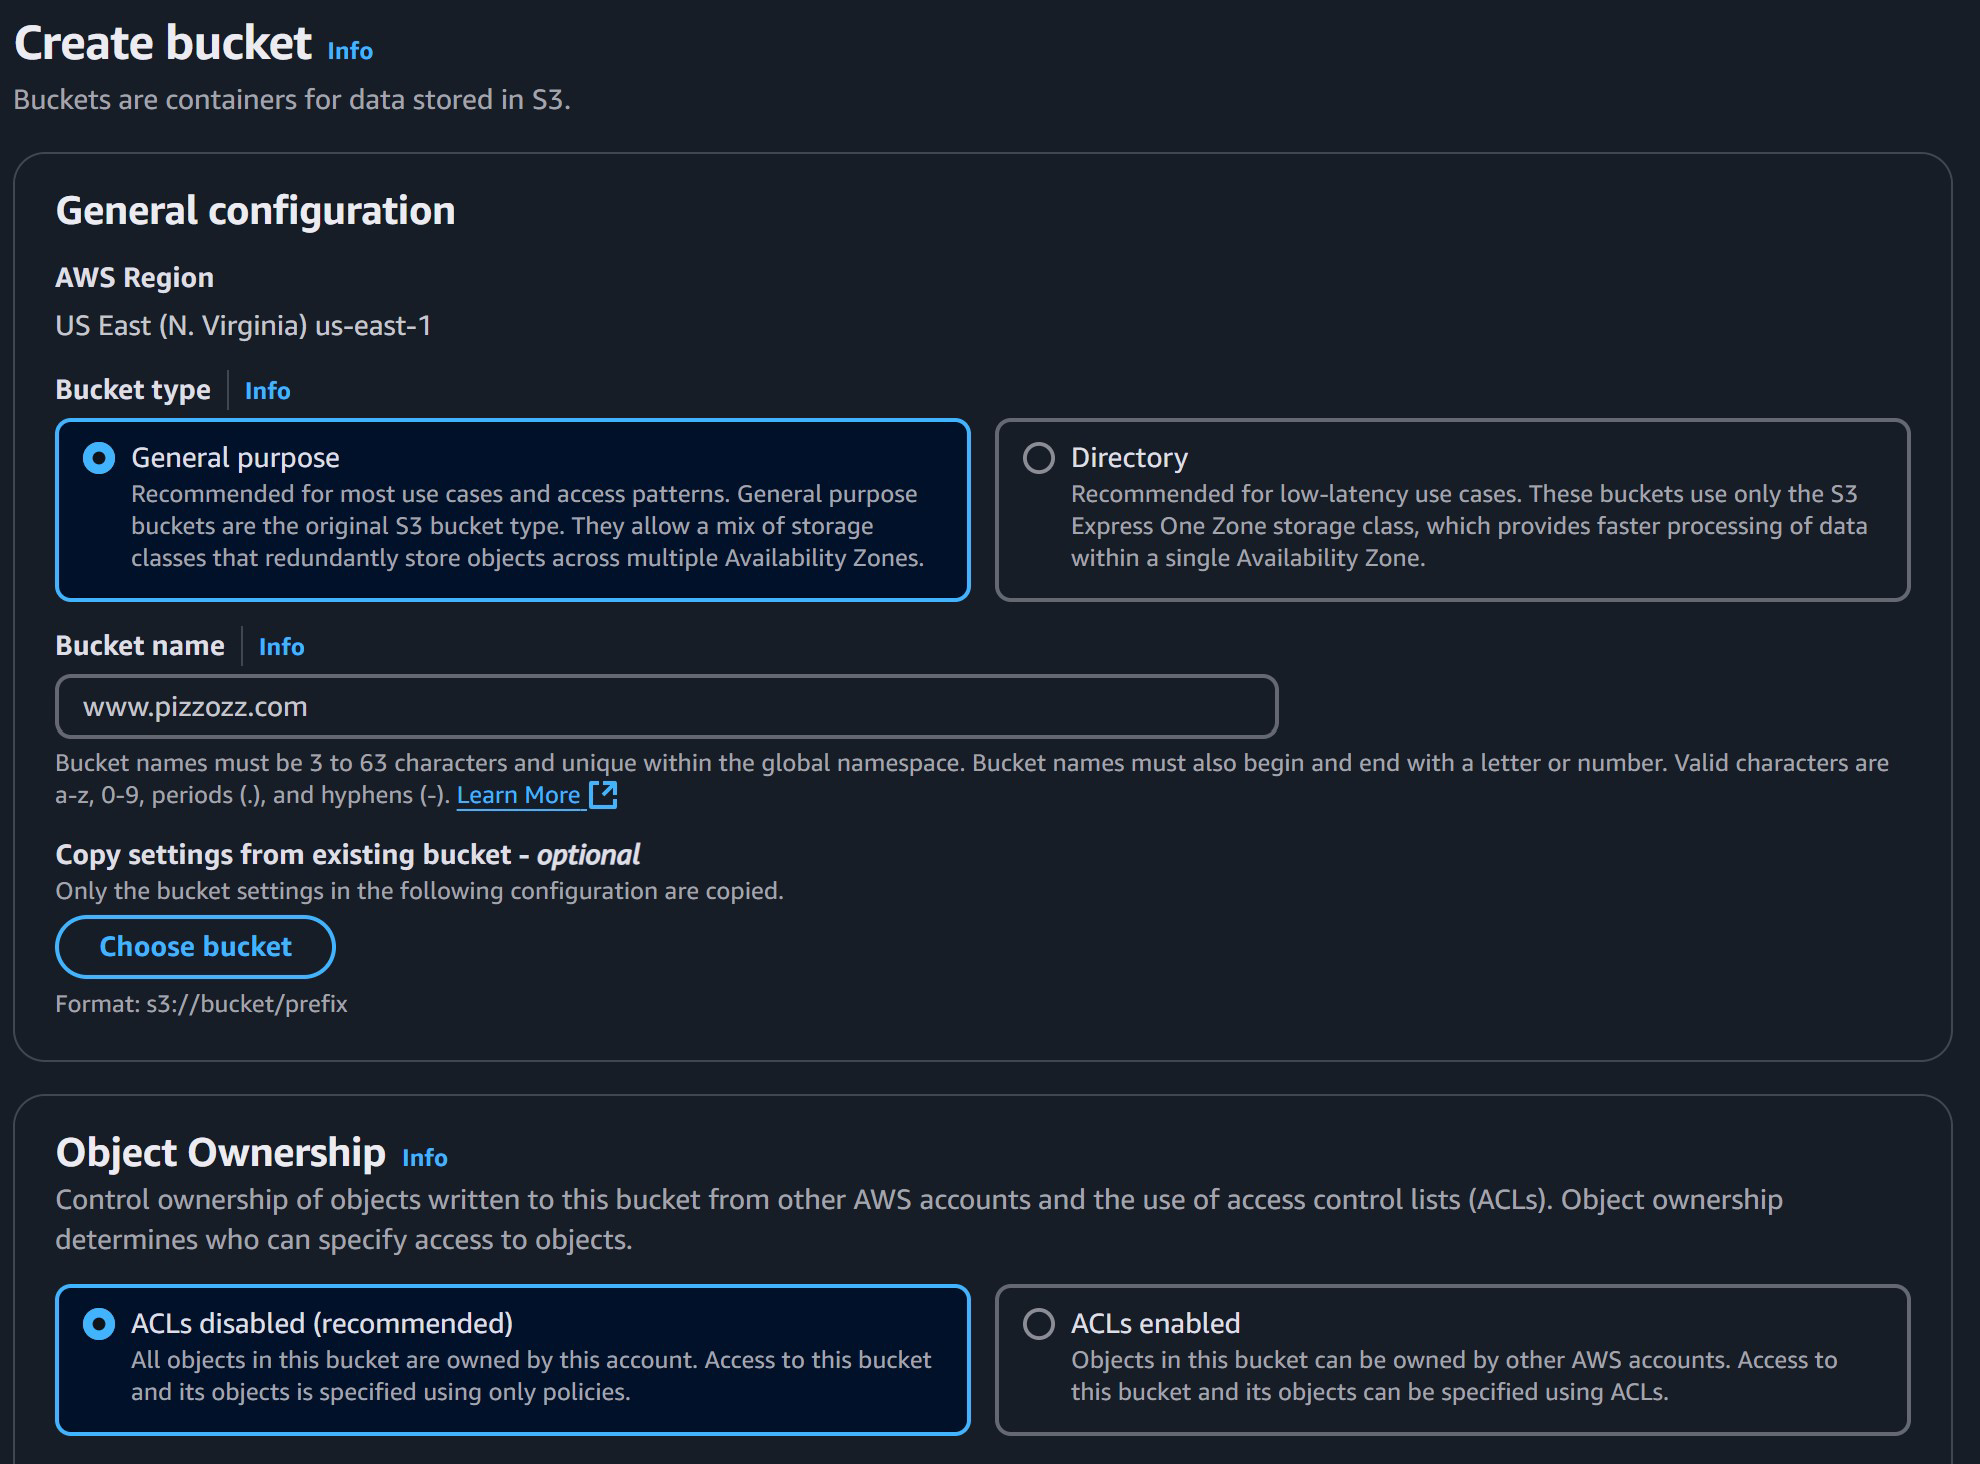
To do that we are going to be creating another bucket in S3 and this time instead of pizzozz.com we will call it www.pizzozz.com and we will make www.pizzoz.com point to what bucket we already have pizzozz.com. So here’s how to do that. Go to S3 and on that main page click “Create Bucket” This time we will name it www.pizzozz.com with the “www.” in front.
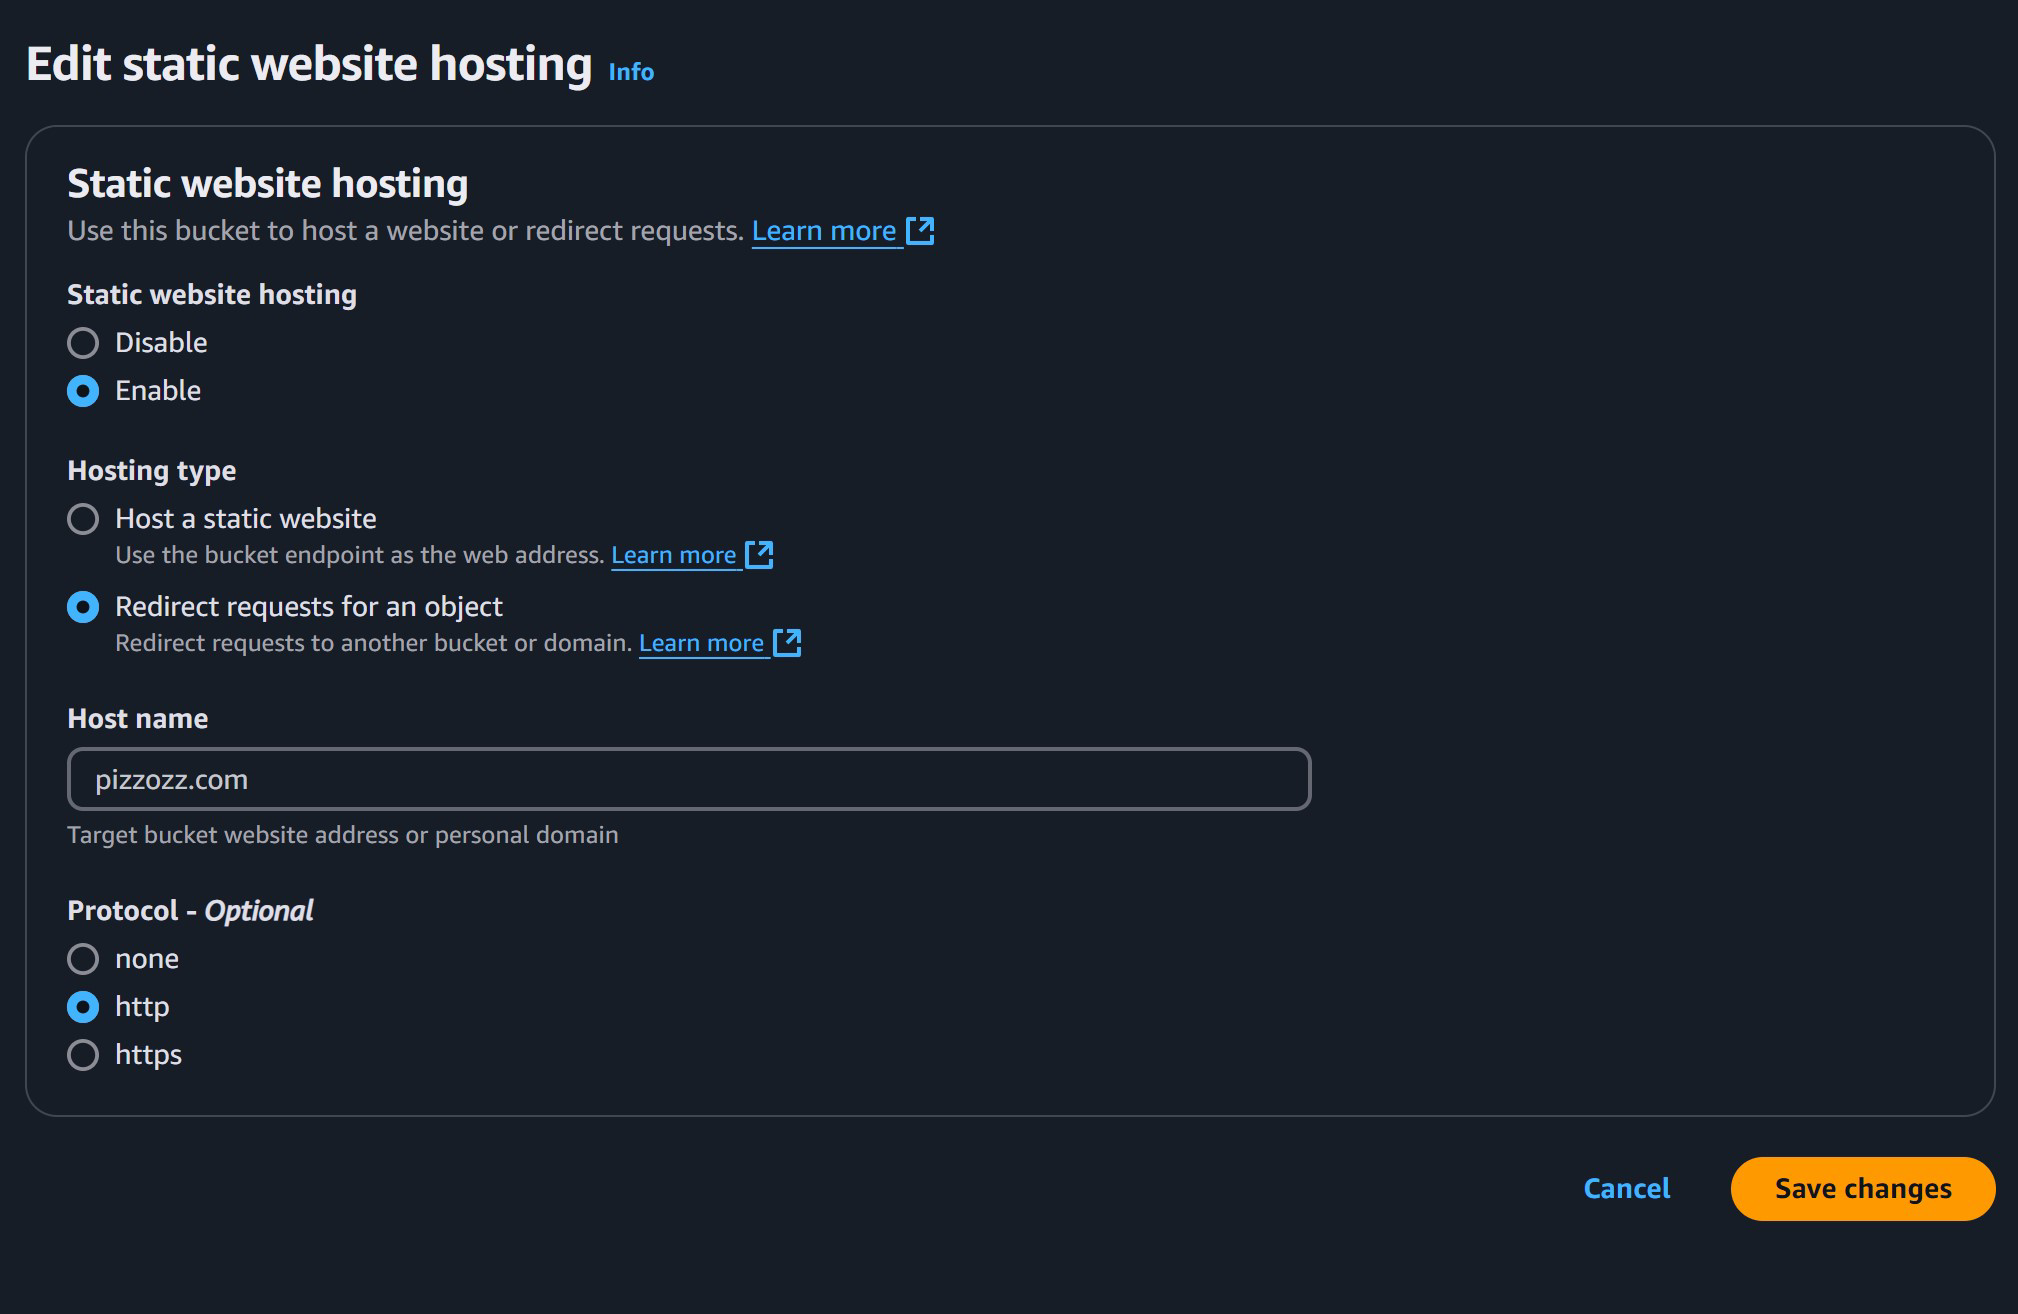
Next we will select “Static Website Hosting” enabled and this time “Redirect request for an object” and point this to our other bucket, pizzozz.com without the “www.” For now we can select “http” or “none” for the protocol part.
Now we still aren’t quite done. Remember how we went to Route 53 to make sure pizzozz.com was pointing to our bucket. Well, we want to do the same thing for www.pizzozz.com. So off to Route 53 we go! Then click “Create Record”
Now we add “www” in front of “Record Name”, switch to “Alias to S3 website…” again, “US-East-1”, and pick our s3 website. Finally smash that like and subscri…ahem, I mean “Create Records” button.
And just like that, we have our very own domain name pointing to our very own S3 bucket website!
Now, some of you might be wondering, “Hey! Why go through all this trouble when there’s lots of things available out there that do this but…like…easier??”
Because we have dreams of making it big! Like, a million views! And if we make it big, the costs of doing it those other ways ends up costing hundreds of $$$ a month! I don’t even know how many bagels-worth that is, but that’s a lot! With S3 the costs are still going to be $5 to $10 a month.
Other astute readers might start to be catching to the fact that we don’t really have a website. We just have a page with some text on it. How do we actually create a fully working website that looks cool??
Well, you’re in luck! Go to the next section to find out www.pizzozz.com/make-a-websites/staticsitegenerator/